Lens Cast Calibration in Capture One
Introduction to Capture One [Part 2]
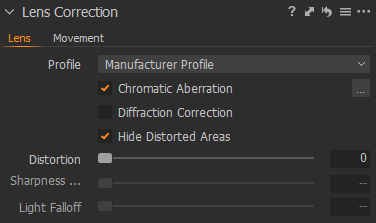
The Lens Menu

Lens Cast Calibration (LCC)
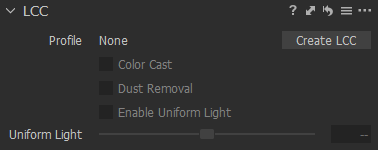
Lens Cast Calibration as to be done specifically for a shot setup hence it’s grayed out until a preset is created and applied. Each lens, camera, setting and lighting situation requires a unique calibration.
What is Lens Cast Calibration?
In short we are trying to minimize the uneven white balance throughout the image introduced due to a various factors. In many cases we can ignore it since it’s not noticeable unless we have a side-by-side comparison. But there are cases where it’s important to have an even white balance.
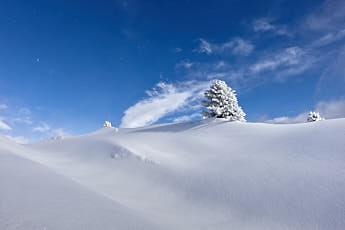
One of these cases are snowy landscapes, which I’ve been shooting recently. This type of photography exposes issues in the white balance as illustrated in the photo below. See how the color shifts towards the edges into a bluish darker tone?
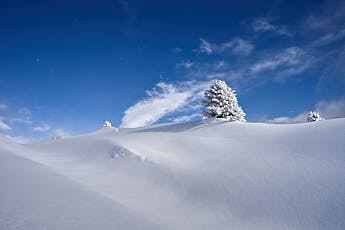
Wide angle lenses are impacted the most as they gather light from more directions.
How to fix it?
To fix or lets say reduce this, we can simply photograph a neutral translucent card (hold on before you buy one, below are some free alternatives) with the same setting and lighting as the photo and feed it into Capture One as a LCC preset.
Does that mean you have to take a second photo of a white card after every photo you’ve taken?
Luckily we can simplify the process! But there’s some factors that need to be considered. The LCC changes with the focal length, aperture, focal distance, ISO, lighting, the subject and of course each and every camera and lens.
Creating a calibration reference photo
On my last trip I shot all my pictures with a Sony A7III camera and a Tamron 28-75mm lens.
- Most shots were focused into far distance. Changing the focus mode to manual and focus in near infinity will work for the calibration picture in this case.
- The aperture for most shots was somewhere between f/5.6 and f/12. I went with f/8.
- The ISO was at 50 for almost the whole day.
- Next I needed something that more or less reassembles a Lens Cast Calibration Diffuser. I tried a white plastic bag and a stack of translucent printing paper (don’t use standard white printer paper, hold it against the sun and you know why). Both methods worked decent and I went with the translucent paper stack.
- The photos on the trip were shot in sunny to cloudy daylight. So I went outside to take the calibration picture around the same time of the day.
Now that everything was ready I took photos at 28mm, 50mm and 75mm. I held the paper right in front of the camera. Remember we set the focus to almost infinite in manual focus mode. Important, we don’t want the camera to try to focus on the card.
Angle the camera toward the sun but don’t aim into the sun or we definitely get an unwanted falloff. Shooting at a 90 degree angle doesn’t work well as it can introduce harsh shadows or reflections. Basically we want an even diffuse light coverage.
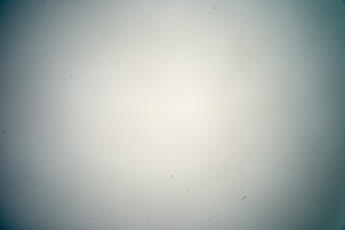
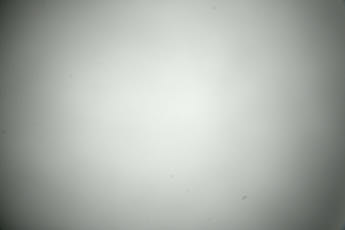
And here is the result, we can already see the same kind of bluish darkening as in the snow photo.

In addition we notice a few dust particles on the sensor. They are on the sensor, dust on the lens would be too blurred out to see. Capture One will also take care of these with the LCC profile (Dust Removal checkbox).
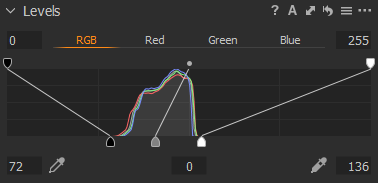
In case you only see an even gray image above, lets stretch the image’s values over the full range via Level Tools (This is just to get a temporary visual representation):
Create an LCC Preset
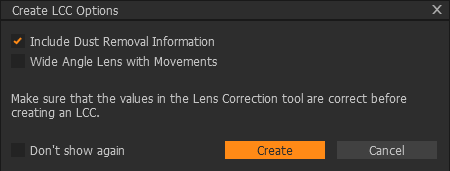
To create an LCC Preset from given calibration image press Create LCC.

In the popup we choose Include Dust Removal Information and Create.
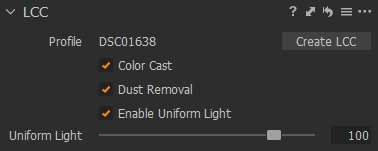
The before grayed out checkboxes are now active.
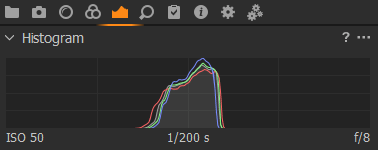
The version with all three checkboxes off: In the histogram we can see that there’s more blue in certain areas.


Color Cast
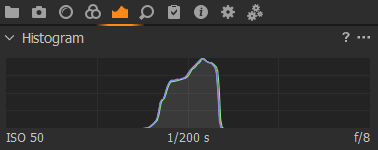
Now we only turn the Color Cast on and see how bluish edges disappear. In the histogram there’s now equal amounts of all colors but the range is still quite spread out from the bright center to the dark edges.

Uniform Light
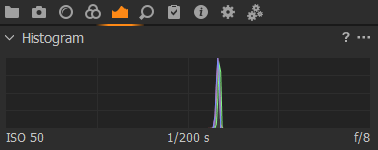
This one just with the Uniform Light. The histogram values immediately get squashed into a very narrow range, which is great news, whole frame is of similar brightness.


Before and After
And finally both option combined. The image is almost perfectly uniform.


It’s always good to confirm with the Color Picker tool. Your eye’s could always trick you!

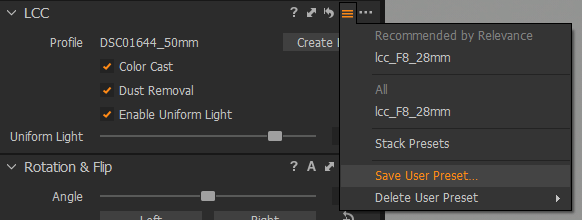
Lets save the preset.
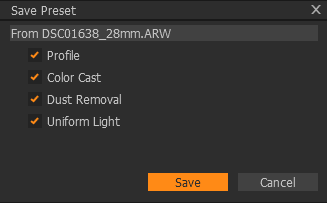
Repeat the same for the 50 mm and 75 mm version.
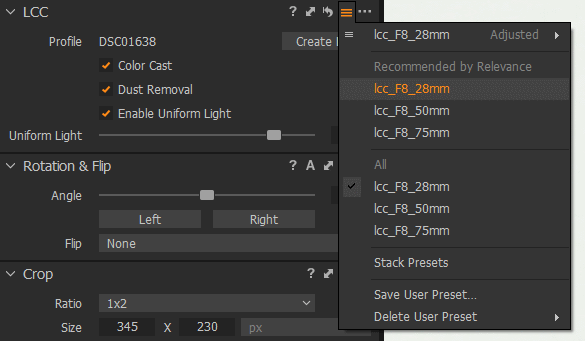
Our LCC presets are ready to be deployed onto the actual photos.
Example Photos
Example at 28 mm (left LCC Off / right LCC On)
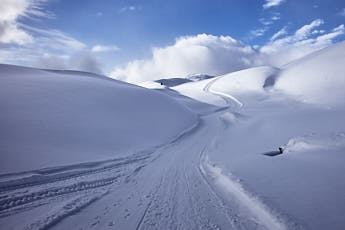
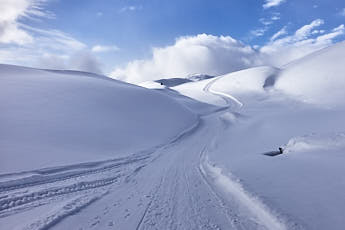

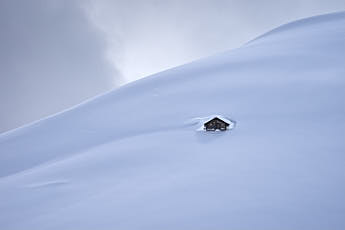
Example at 75 mm (left LCC Off / right LCC On)
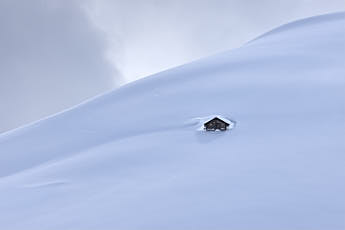
You might have noticed that the Lens Correction > Light Falloff automatically gets deactivated when the LCC is on.
